Easy DIY Sand and Pebble Garden Path Designs to Welcome Spring
March 5, 2024
Spring is not just about the start of a new season. It’s about embracing the renewal and rebirth that comes with it. As nature blooms with vibrant colors, gardens become a vivid display of joy and rejuvenation. A well-tended garden serves as a peaceful haven, a perfect blend of tranquility and beauty. And what could enhance this calm more than an easily navigated, welcoming garden path?
Benefits of Sand and Pebble Garden Paths
Sand and pebble garden paths need less upkeep compared to grass or soil paths. This overcomes maintenance hassles, like mowing and feeding grass paths or dealing with soil erosion. All that’s needed is to occasionally smooth the sand or replace a dislodged pebble.
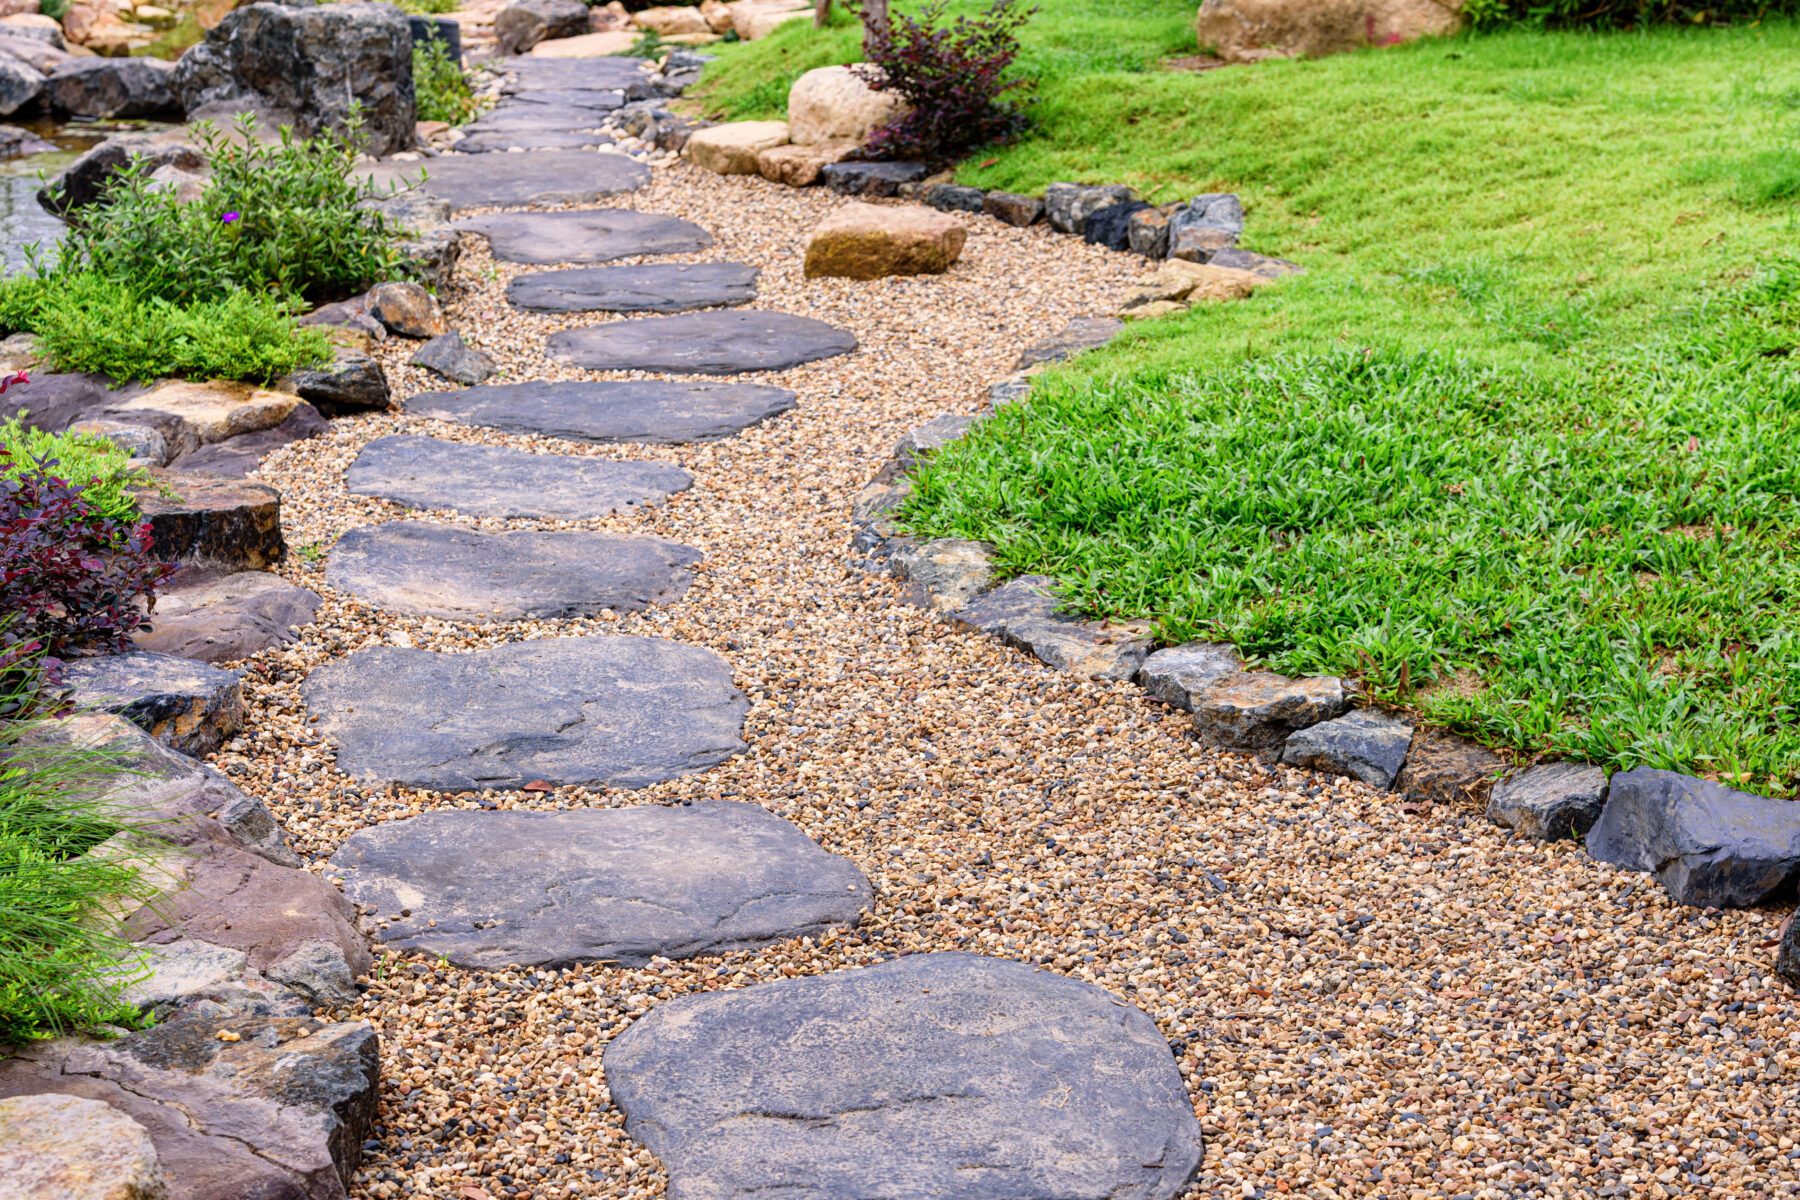
These paths aren’t just practical, they’re also lovely to look at. The pebbles’ multiple shades bring richness and depth, while the simple sand cleverly contrasts, making colorful plants steal the show. Whether for a minimalist garden or a classic English retreat, these paths add a delightful touch.
Apart from beauty and ease, this type of path has practical benefits too. Sand and pebbles offer superior drainage, so no pools of water sitting on the path. Plus, they weather the seasons better than other materials like wood chips or concrete, making them a reliable, all-season garden path solution.
Planning Your Garden Path
Design Considerations: Transforming a garden starts with a well-thought design for the garden path. It should ideally match the size and shape of the garden. Think of a simple straight line leading to a back porch or a trail winding its way through the foliage. The goal is for it to enhance the landscape in a harmonious way.
Choose sand and pebble colors that complement your garden’s style. Think about a garden full of bright roses. Warm orange or red pebbles could work well. For a minimalist, zen-style garden, consider using neutral grays or blacks. It’s not just about path function, but also about making it a garden highlight through thoughtful design.
Measuring and Marking: As the first practical step, measure the prospective path’s length and width, always bearing in mind the vital balance between the whole garden’s scope and the path’s scale. Identify the sweet spot where the path is neither too narrow to traverse comfortably nor too vast to dwarf the surrounding vegetation.
Next, after deciding upon the perfect dimensions for the path, outline it using stakes and string. Let the stakes create the corners of the future path area, and drape string around them. This makes a tactile blueprint—a visual fence—that confines the sand and pebble path-making process within a framework, keeping the integrity of your flower beds intact.
Creating Your Sand and Pebble Garden Path
Preparation: Clearing Pathway Area
Getting ready for a new project involves preparing the area. Clear any pesky weeds or litter lingering about. Through this, a strong, reliable base for the path is assured. With gloves on, it’s time to dive in. Clearing the path may seem minor, yet it plays a crucial role in paving a clear, appealing trail.
Edging: Defining the Path’s Limits
After the area is clear, it’s time to put in some kind of edging. This helps keep the materials for the garden path exactly where they’re supposed to be. Plus, it gives a nice outline to the path, setting its shape and boundaries distinctly.
Foundation: Laying the Base Layer
Next up is a step that’s all about keeping the path firm and ensuring water can find its way out: a base layer of crushed stone or gravel. This part not only lets water pass through but keeps the path from sagging or shifting. Bottom line? It’s pretty important.
Smoothing: The Sand Layer
Moving onto the next step involves spreading a layer of sand over the base. This creates a smooth and flat surface, readying it for the next stages. Patience is key during this process, as it’s an essential component to ensure an even path. Take this moment to perfect the sand levels. An extra bit of effort here guarantees a walkway that provides comfort and stability for many spring seasons ahead.
The Artistry: Pebble Placement
The ensuing stage adds that unique element of creativity – organizing the pebbles. Whether it be a random layout or distinctive motifs like concentric circles or floral patterns, consider this as your canvas. The design of the masterpiece lies in your choices.
Finishing Touches: Stability and Sealant
Once every pebble finds its spot, make sure to press them firmly into place. This step helps solidify the path. Think about applying a sealant for an extra layer of durability. It’s a solid strategy for a long-lasting creation.
Maintenance Tips
Everyday foot traffic, changing weather conditions, or a small animal wandering about could move sand or pebbles around. An easy sweep can help correct these small changes before they turn into bigger issues. If there are larger displacements, replenishing the sand or pebbles might be necessary.
A classic way to tackle weeds is by pouring boiling water on them. This method effectively eliminates weeds without causing any harm to the path. Alternatively, a homemade vinegar solution can be used. Simply mix equal quantities of white vinegar and water, then spray it over the weeds, ideally during the sun’s peak hours. This blend of strong sunlight and vinegar drains the life out of these unwelcome visitors.
A DIY sand and pebble garden path can completely transform your garden, especially as spring starts to blossom. This captivating addition brings charm to any outdoor space, along with countless terrific benefits. Whether it’s for its visual charm, ease of garden maintenance, or simply the serene moments while spending time in nature, there are many justifications to start this project. If you have questions or need materials, give American Rock Products a call today!